


Selleys Aquadhere Durabond
Selleys Aquadhere Durabond is suitable for bonding wood to almost anything, is easily sandable, paintable & stainable. Perfect for jobs requiring extra durability.
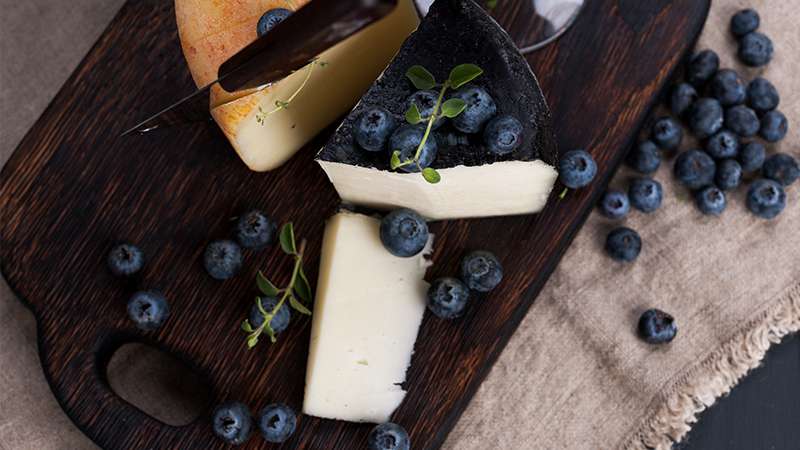
Make the grazing board of your dreams with this beautiful DIY chopping board.
You will be the envy of your friends at your next dinner party.
Step 1: Determine the length and width of the chopping board you wish to make. The one described here measures 400mm(L) x 250mm(W).
Step 2: Divide the width you desire by 19 (width of the timber) e.g. 250/19= 13.15. To have the same colour timber on either edge you need an odd number of pieces. In this example there are 13 pieces.
Step3: Choose which colour timber you want for the outside edges. For this project the lighter colour was chosen. Therefore 7 light coloured pieces (Tasmanian Oak) and 6 of the darker coloured pieces (Meranti) are required. If you want the dark timber on the edges then reverse it and have 7 dark and 6 light pieces.
Step 4: Cut your pieces to length using a hand saw or jig saw. Once you have your pieces cut to length lay them flat (42mm width side down) into a variegated pattern on some old newspaper or baking paper to protect your bench top from excess glue.
Step 5: Apply Aquadhere Exterior to all pieces except the last piece. Spread the glue with the brush to ensure a generous amount on each piece for complete coverage.
Step 6: Stand all pieces on edge with a glue covered edge facing a raw side of timber.
Step 7: Bring all pieces together including the end piece you didn’t apply adhesive to. That will cover the last bit you glued up as seen in the picture above.
Step 8: Use a Carpenter’s square to get the ends straight. If you don’t have a square you can do this step pretty well by eye.
Step 9: Apply clamps, using some scrap bits to stop the clamps from marking the edges. Press down to get the pieces even before final tightening. If the pieces move once the clamps have been tightened, release clamp pressure and press down on the pieces which have moved and retighten clamps. You may have to do this a couple of times.
Step 10: Once clamps are in place and the board is level, turn over and remover paper backing which may be stuck to the back of the board.
Step 11: With a wet rag wipe off excess glue that has squeezed out on both sides of the board. Once all glue has been removed, wipe off any excess water with a dry rag.
Step 12: Stand and leave for a couple of hours (overnight if possible) to allow the glue to dry completely through. Check glue has dried then remove clamps.
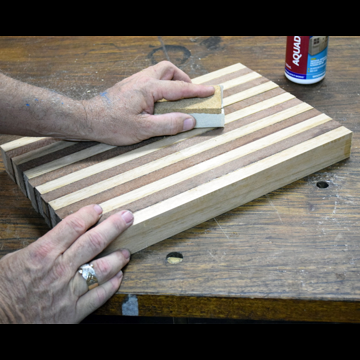
Step 13: Sand top and bottom flat with the sanding block (this process will be achieved a lot quicker if you have access to a Belt or Orbital sander). Start with a Coarse 100 grit then move onto Medium 120 grit and finish with Fine 180 grit. Soften the edges of the board using the fine 180 grit sandpaper.
Step 14: If you want more of a round edge, use a hand plane to plane the edges at an angle. Continue doing this on all edges (both faces) until you achieve the softness that you want.
Step 15: To finish your beautiful Chopping Board off rub some vegetable or olive oil over the board with a rag. The oil used for this project was olive oil but any edible oil will do just fine.
Step 16: All finished and now ready for use. When it starts to dry out recoat with the same oil.
Selleys Aquadhere Durabond is suitable for bonding wood to almost anything, is easily sandable, paintable & stainable. Perfect for jobs requiring extra durability.
Selleys Aquadhere Exterior produces bonds stronger than most woods and is weatherproof, so it is excellent for exterior projects.
Selleys Aquadhere Interior is a high quality interior PVA wood glue that is suitable for everything from woodwork to craft.
Selleys Aquadhere Quick Set is a quick setting PVA wood glue that is suitable for all types of wood, sets twice as fast compared to normal PVAs.
Keep on trend and learn how to create a stunning chopping board for serving which will be the envy of your friends at your next dinner party.
If your dining room chairs are looking tired and worn, it might be time to consider some repair work and a new coat of paint. Wobbly chair legs or loose arms can be easily fixed with products from the Selleys adhesives range, and then all you need is a lick of paint
Dents and cracks in your timber furniture doesn't mean its destined for the tip! Here is a 4 step guide to have your timber furniture will looking as good as new
Learn how to quickly and easily repair most wooden items without the need for drills or hammers.


Share
Share this article with your friends